Bought a fixer upper? Planning to renovate? Feel like scratching a DIY itch? Many of the clients at Myaree Ceramics are DIY renovators and enthusiasts, and there are plenty of tiles in store that are friendly for first-time tilers. We'll take you through how to do it, and recommend some products to help you along the way.
Where do I begin?
Start small. If this is your first DIY, don't tackle your whole bathroom. Bathroom floor tiles are tricky with falls for drainage, waterproofing and lots of cuts. Begin with a laundry floor or a splashback, so you can try your hand at tile installation without committing to a huge job.
To read more: DIY Tile Renovations
How to lay floor tiles
1. Prepare
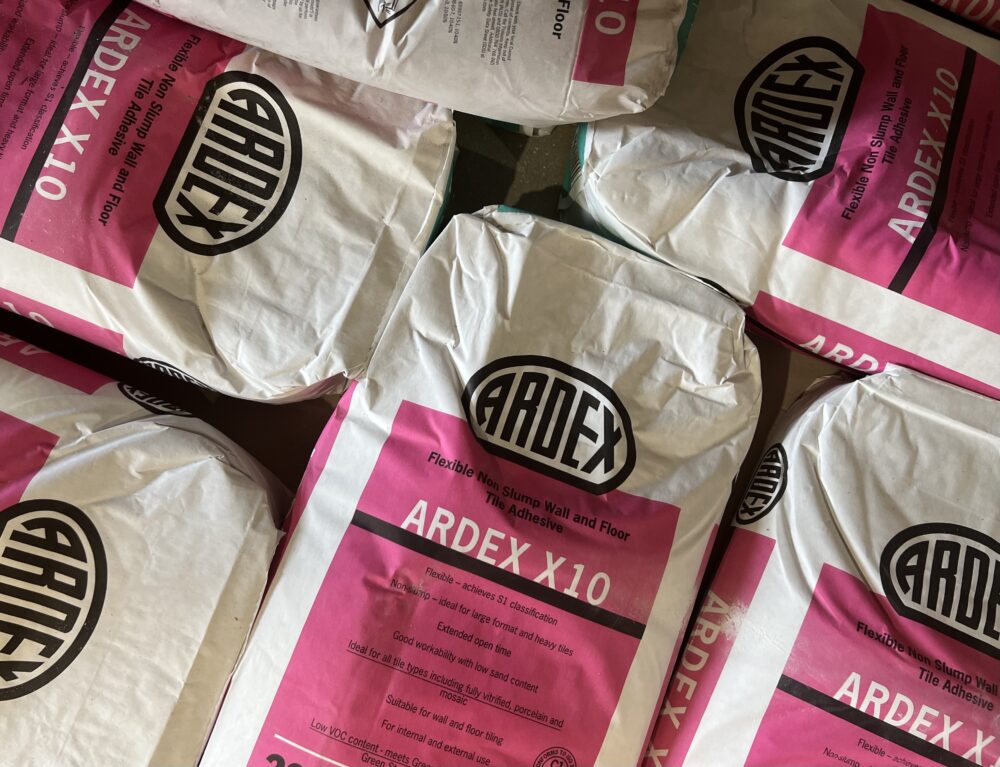
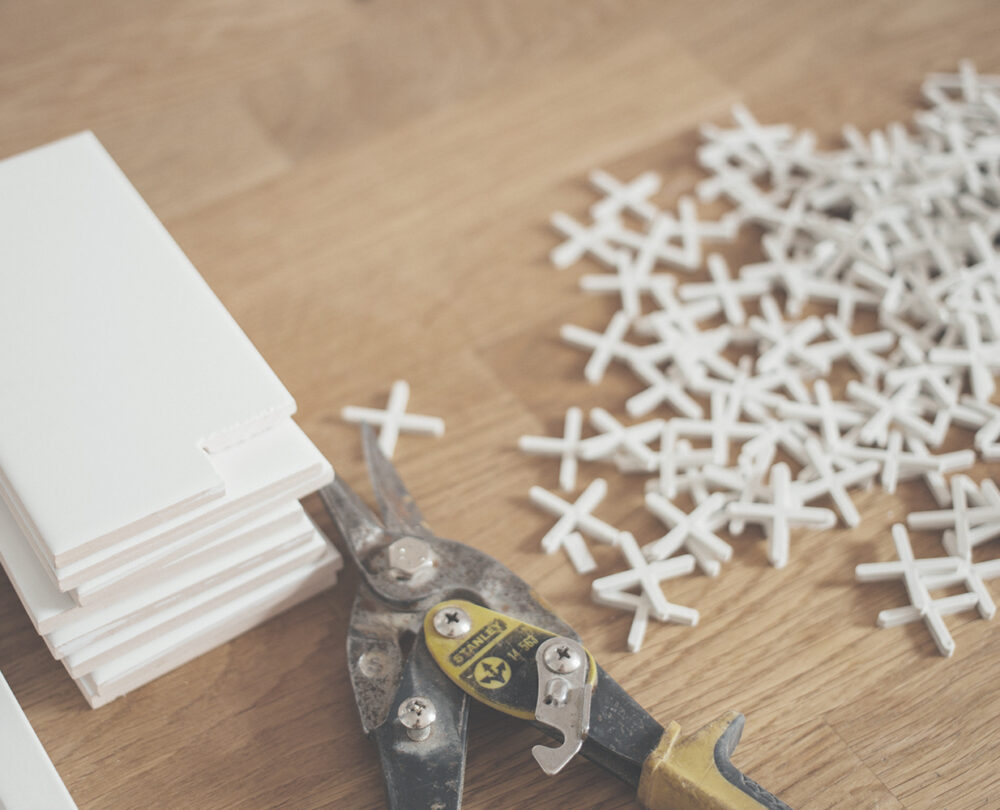
Begin by ensuring you have the basics: tile adhesive, buckets, a notched trowel, tile spacers, a tile cutter, tile nippers, a grout float and a measuring tape. You may also need a set square and a spirit level. For advice on which specific adhesive and tools are best for your project, visit our trade centre and they can guide you.
2. Select your tiles
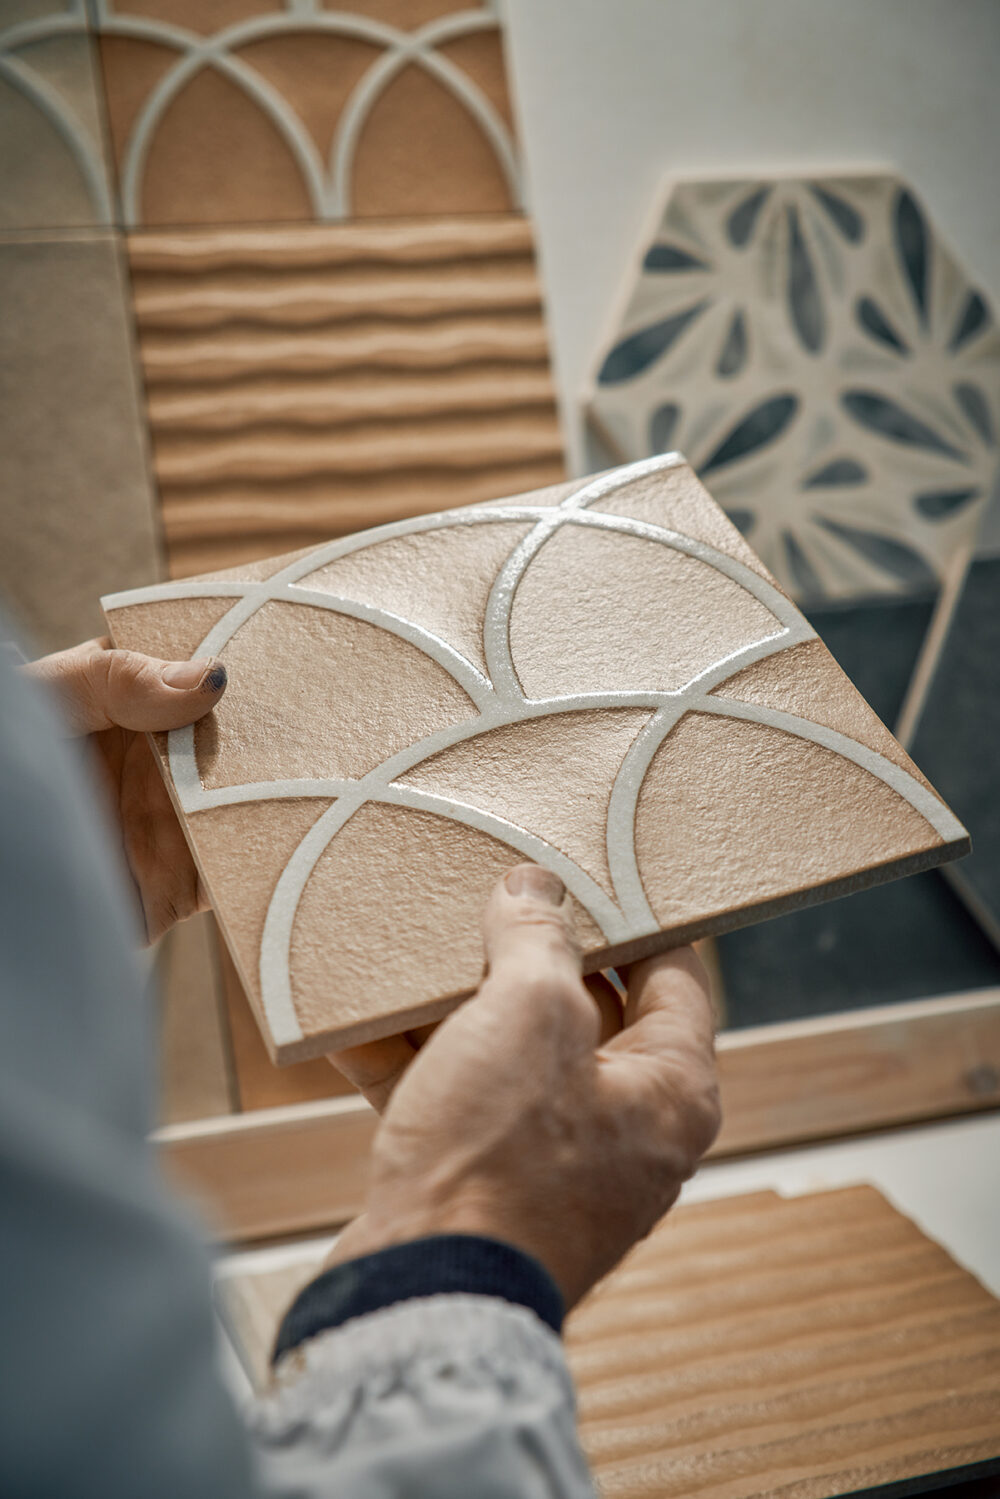
Some tiles are easier to install than others. Ceramic floor tiles such as our Picasso series are easier to cut, because a ceramic tile is less dense than porcelain tiles.
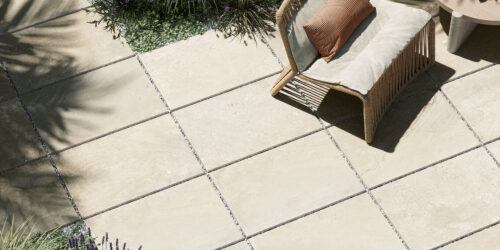
Non-rectified floor tiles are also far easier to install than rectified ones. A non rectified, or cushion edge tile means you do not have to prepare the surface (substrate) to be perfectly flat as you do with rectified tiles. A non-rectified tile is more forgiving, and will not ‘lip’ as rectified tiles can if the surface isn't prepared perfectly. The Picasso series is also non-rectified, as is the Forma series.
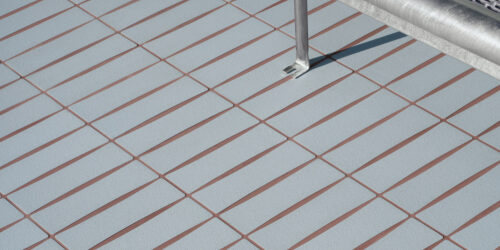
Smaller (but not too small) tiles are also easier to handle and set out in the space. 200x200mm tiles like Grafton Mina or Art Nouveau Padua Black are an easier size to work with, as are 300x300mm and 200x400mm are an easy size to work with on walls. For a complete look at non rectified 300x300mm tiles, see here, and for 200x400mm non rectified wall tiles, see here.
After selecting your tiles, choose a grout to match. Make sure you order the tiles with enough time to have them ready before you begin your renovation, and allow at least 15-20% in your quantity for cuts and wastage.
3. Set out and mark up
Once your surface is clean, dry and ready to go, set the design of your tiles out on the floor. That means, choose where you will lay full and cut tiles. For a floor, use the focal point of the room (in the case of a laundry, use the bench wall), and lay your full, straight line of tiles from there. If it's a wall, hide your cuts on overhead cupboards or along the bench. Measure and with a pencil, mark the tiles that will need to be cut on both sides.
4. Cut tiles
Depending on your tile cutter you're using, you will either score and tap your tile to cut them, or cut them directly on a platform. If you need to cut smaller tiles, or cut rounder shapes, use tile nippers to break off small pieces at a time.
5. Adhesive
Mix the adhesive in batches according to the manufacturer's instructions. If you're tiling a floor, typically you would apply adhesive to the floor with a 10mm notched trowel. For a wall, generally use a 6mm notched trowel, with the lines running horizontally across the wall. Only apply the glue 1 square metre at a time, and ensure the adhesive has not developed a skin.
6. Glue the tiles
Press and slide a dry, clean tile into the adhesive, ensuring a full contact with the adhesive. (If the tile backs are dusty, clean them with a damp sponge and allow them to dry first). Full contact with the adhesive is very important for longevity - this stops tiles from going ‘drummy’ or popping up over time.
Use your tile spacers to ensure even spacing between the tiles, and you may like to use a level or set square for a straight edge to work from. Be sure to remove adhesive from the face of the tile and between the joints before it sets. Check your tile glue packaging to see how long you have to make adjustments before it sets. For a step by step guide on how to lay floor tiles, check out this installation video by Ardex.
7. Grout the tiles
Once the adhesive is dry, remove the tile spacers and mix the grout with clean water according to the manufacturer's instructions to a toothpaste consistency. Work the grout into the joins diagonally with a grout float. Using a damp sponge (not too much water), work in a diagonal motion to remove the excess grout from the surface. Ensure you rinse the sponge and change the water regularly. Once clean, polish with a dry cloth. For step by step instructions, check out this installation video by Ardex. There are also easy to follow instructions for silicone if you're installing a splashback.
8. Maintaining your floor
For more on how to maintain your beautiful new tiles, see our maintenance guide here.

DIY tile installation to avoid
If you're a DIY renovator - especially if you're less experienced - it's worth noting that tile installation can be surprisingly technical and tricky. To save heartache (and fixes where you spend more money than you would have just getting a pro in the beginning), Myaree Ceramics would recommend leaving the following to the professionals:
Waterproofing
Waterproofing is one of the most crucial steps when renovating a bathroom. Waterproofing membranes - not tiles, grout, or glue - are what keeps the structure of your house intact. Incorrectly installed waterproofing can fail over time, creating rot, mould and water damage. It can be a very expensive mistake that you may not discover until years into the future. Can you install your own waterproofing without any experience? Yes. Should you? We wouldn't recommend it.
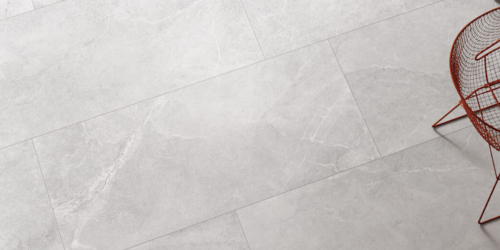
Large format tiles
It may seem easier to install large format tiles: logically, it's less pieces to put down, therefore the job will be finished faster, right? Unfortunately, it's the opposite. Because of the nature of large format tiles, they're much less forgiving for a DIY install. Why? They're big and heavy, so they take two people to install. They're longer and are porcelain, so they're harder to get a clean, straight cut. They're a large, flat plane, so if the surface underneath (the substrate) isn't perfectly prepped with a nice flat render, they won't sit flush - and you will see lipping. And finally, the set out (where you put the tiles and where you put the cuts) are trickier to get symmetrical.
Expensive decor tiles
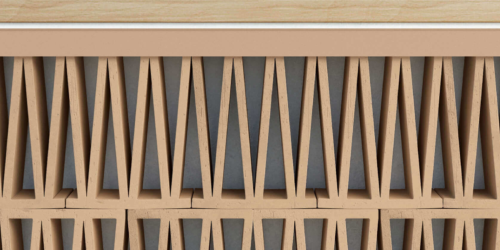
Feature walls of decor tiles like mosaics (such as our Micro collection), things on a mesh backing like our Phenomenon series, trickier geometric shapes like the Tec. Chamotte Esagono or any time you've spent a lot of money on a stunning product are typically best left to the pros.
Installing mosaics or intricate geometric decors is really an art that some tilers spend their careers perfecting. If you're going to spend the money on a beautiful tile, you'll get the best result and the value for your money having it installed by a pro.
Talk to us
As always, the staff at Myaree Ceramics are an unending repository of tile information. For guidance, clarification on how to lay floor tiles or to just seek design advice, contact the showroom staff at Myaree Ceramics today.